How to Set Up and Configure a NoLimitConnect Network Host
This guide describes how to compile, configure, and run a NoLimitConnect (NLC) Network Host on a Linux system.
Compile and Run NoLimitConnect on Linux
Flatpak is the recommended method for building and running NoLimitConnect for the following reasons:
- Fewer build and runtime steps
- Reduced disk space usage (no need to install the Qt SDK, Qt Creator, etc.)
- A consistent runtime environment that minimizes hardware and OS differences
Documentation
Determine Your Public IP Address
You will need the IP address that is visible to the internet (your public IP). This value will later be entered into the External IP field in Network Settings.
Ways to Find Your Public IP
- Use a search engine (for example, search for "what is my IP address")
- Visit https://whatismyipaddress.com
(This site also provides information about your location and internet provider)
Open the Network Settings Page
-
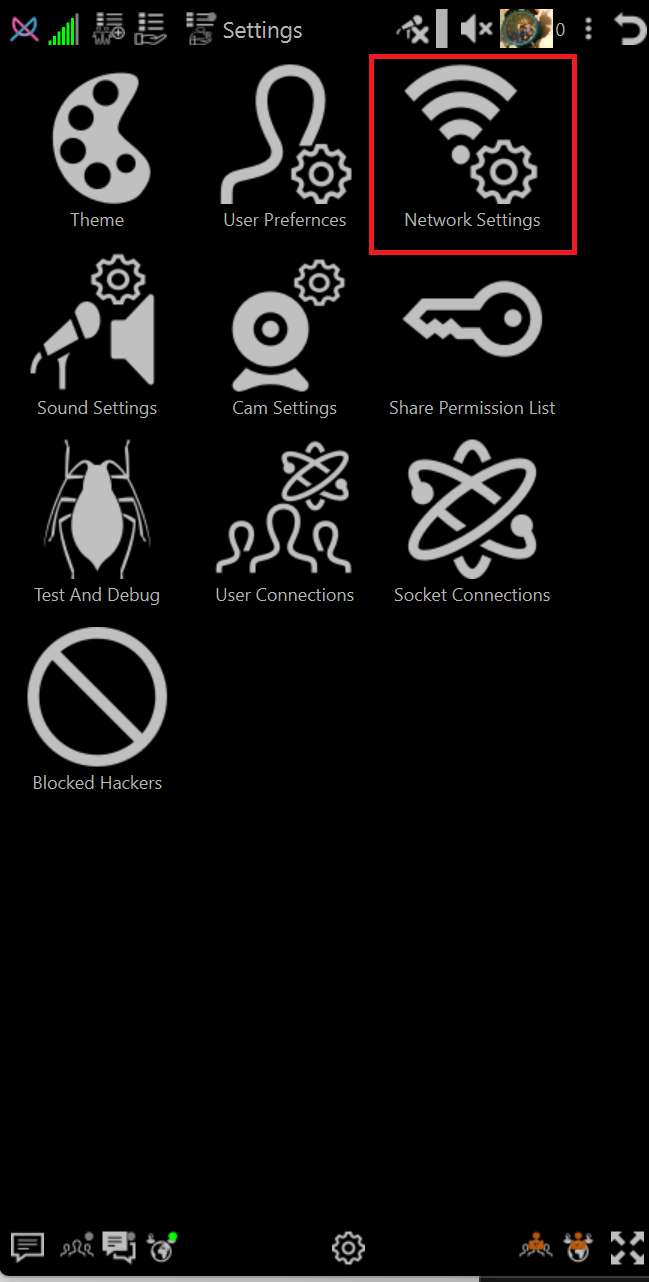
Click Settings
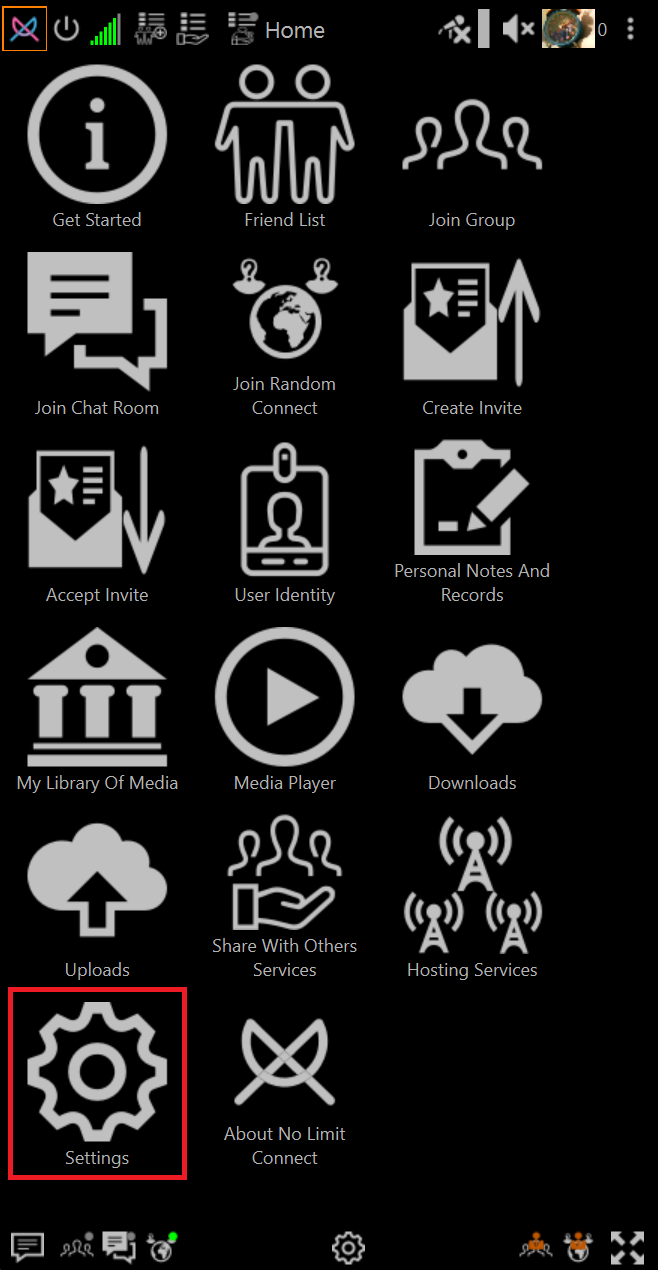
-
Click Network Settings
Configure Network Name and External IP
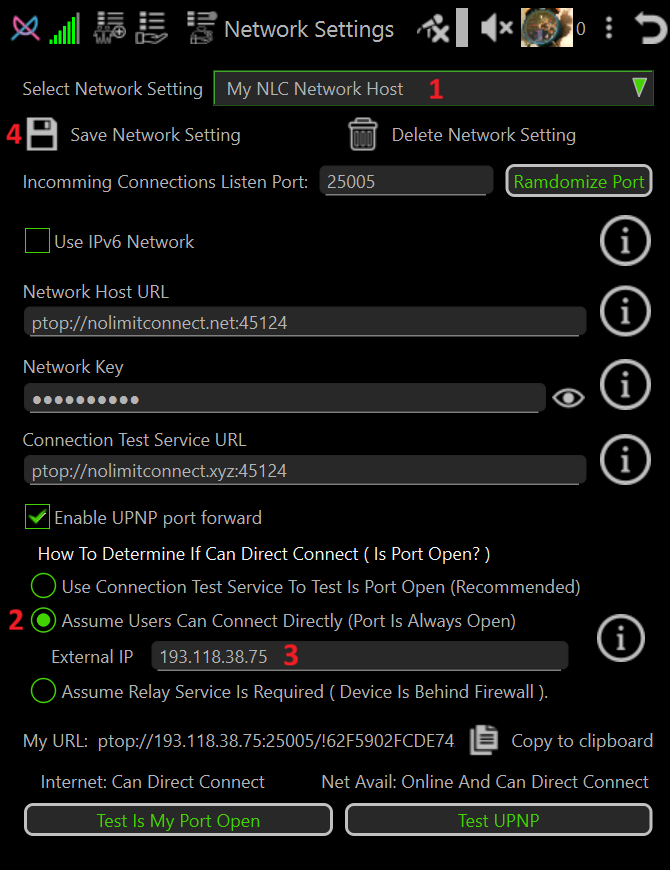
- Enter a name of your choice in the Select Network Setting field.
- Select the radio button Assume Users Can Connect Directly.
- Enter your public IP address in the External IP field.
- Click Save Network Setting.
- Restart NoLimitConnect.
- Verify that all Network Status Bars are green.
Configure Network Host and Connection Test URLs
Network Host and Connection Test URLs use the following format:
ptop://
Examples
Using a public IP address:
ptop://193.118.38.75:25005
Using a domain name:
ptop://mynetworkhost.com:25005
Note: If you purchased a domain name substitute mynetworkhost.com with your domain name.
If you prefer a different port number than the current one then click Randomize Port until a suitable port is assigned.
Note: Replace
25005with the port number assigned by NoLimitConnect.
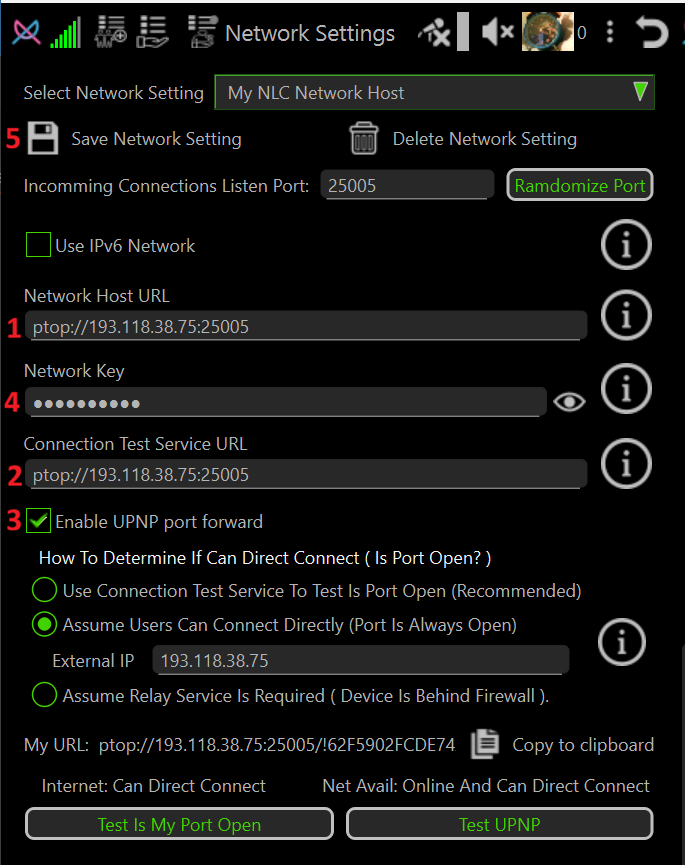
Steps
- Open Network Settings again.
- Enter your Network Host URL.
- Enter your Connection Test URL.
- If you have a static IP address, you may optionally disable Enable UPnP Port Forward to speed up the network test phase during startup.
- Optionally change the Network Key.
Important — Network Key Behavior
- Changing the Network Key improves security but has important side effects.
- The Network Key is not included in Network Invites and must be shared separately.
- Any connection attempt to user or host using a different Network Key will result in the connecting user being banned as a hacker.
- The only way to remove such a ban is to restart NoLimitConnect on the system(s) that issued it.
- Changing the Network Key is recommended only for private networks.
- Click Save Network Setting.
- Restart NoLimitConnect.
- Verify that all Network Status Bars are green.
Enable Network Host and Connection Test Permissions
Set the desired permission level for: - Host No Limit Network - Connection Test
Optionally configure permissions for: - Host ChatRoom - Host Group - Host Random Connect
Bandwidth Notes
- Host No Limit Network and Connection Test have low bandwidth requirements.
- Host ChatRoom, Host Group, and Host Random Connect may require high bandwidth when relay services are used.
Recommendation
For initial setup, it is easiest to set permissions to Anybody until appropriate friendship levels are established for each user.
➡️ How To Set Plugin Permission Levels (who can access what)